Directions for use of sheets on printers:
ONLY to be used with an ink jet printer, DO NOT USE IN LASER PRINTER.
Load sheets one at a time. Loading multiple sheets may cause the ink jet printer to jam and could damage the printer.
For appliqué:
Trace, draw or print the design pieces onto the protective paper sheet of Appli-Stick. (Remember to use the reverse of the image if there is a defined right/wrong or left/right side, such as with lettering.)
Trim around the image, leaving at least ¼˝ inch of the Appli-Stick outside the traced lines.
Fuse Appli-Stick to the wrong side of decorative fabric, using a medium/high temperature on your iron (no steam) ands firm pressure. The fusible side of Appli-Stick is the soft/shiny side.
Hold the iron in place for at least three seconds, then flip the piece over and press again on the fabric side.
After the piece has cooled, cut out the appliqué precisely using the traced lines.
Peel back the protective sheet to expose the sticky surface of the appliqué.
Position the appliqué piece on the base fabric or garment – reposition as many times as needed!
Once the desired positions of all pieces are in place, use your iron to press and set the bond. Use a medium / high iron temperature and hold the iron to the appliqué for at least three seconds. *Press on the appliqué side and the fabric side for maximum bonding.
Finish by stitching around the appliqué with a satin stitch or your favorite decorative stitch.
Tips
Remember that the traced image will be reversed once it is transferred onto the paper side of Appli-Stick! Make adjustments to the original image if necessary.
All irons heat differently. The iron temperature given above is a starting point. If you find that you are not getting a good fuse, slowly increase your iron temperature until you achieve a good bond. Also, remember to press from both sides of the appliqué and apply pressure with your iron! Test before beginning your project.
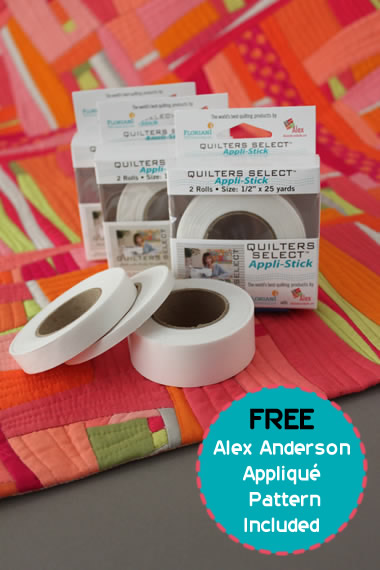
Use the convenient tape-size rolls of Appli-Stick to easily adhere quilt bindings or bias tape to the edges of quilts and home dec items! Eliminate pinning by fusing this repositionable tape to the back of decorative trims, piping, cording, zippers and more – Appli-Stick holds almost anything in place until you are ready to embellish!
Appli-Stick also adheres to paper and wood! Use for scrapbooking, stickers, paper appliqué and more!
For Best Results
Most new fabric is treated with heavy sizing, starch, chemicals or wax. This treatment can hinder the bond of fusible web. We recommend pre-washing your fabric to remove any finish or starch before fusing – do not use fabric softener.
For the best results, iron your fabric before using fusible web. This will remove any wrinkles – do NOT use starch.
Too much heat applied repeatedly will weaken the adhesive and possibly melt it into the fabric. Be sure to use the iron temperature recommended in the directions. Some RNK webbing requires a LOW iron temperature!
To protect your ironing board and iron, place a sheet of parchment paper (used for baking) under and on top of the fabric when fusing.
If the fusible webbing separates from the release (backing) paper, it is still usable. Simply place the webbing on the fabric, put the release (backing) paper on top (or parchment paper) and fuse into place.
Washer and Dryer Safe
Cool water and low drying temperature recommended. For delicate fabrics, using a pressing cloth is recommended.
Sizes Available
QSAS-2025 – 20˝ x 25 yds
QSAS-1010 – 10˝ x 10 yds
QSAS-1X10 – 1˝ x 10 yds
QSAS-HALF – ½˝ x 25 yds
QSAS-QTR – ¼˝ x 25 yds
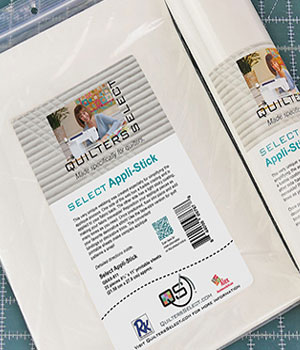
QSAS-811 – 25 pieces 8½˝ x 11˝ printable sheets


korycheshier@gmail.com –
test