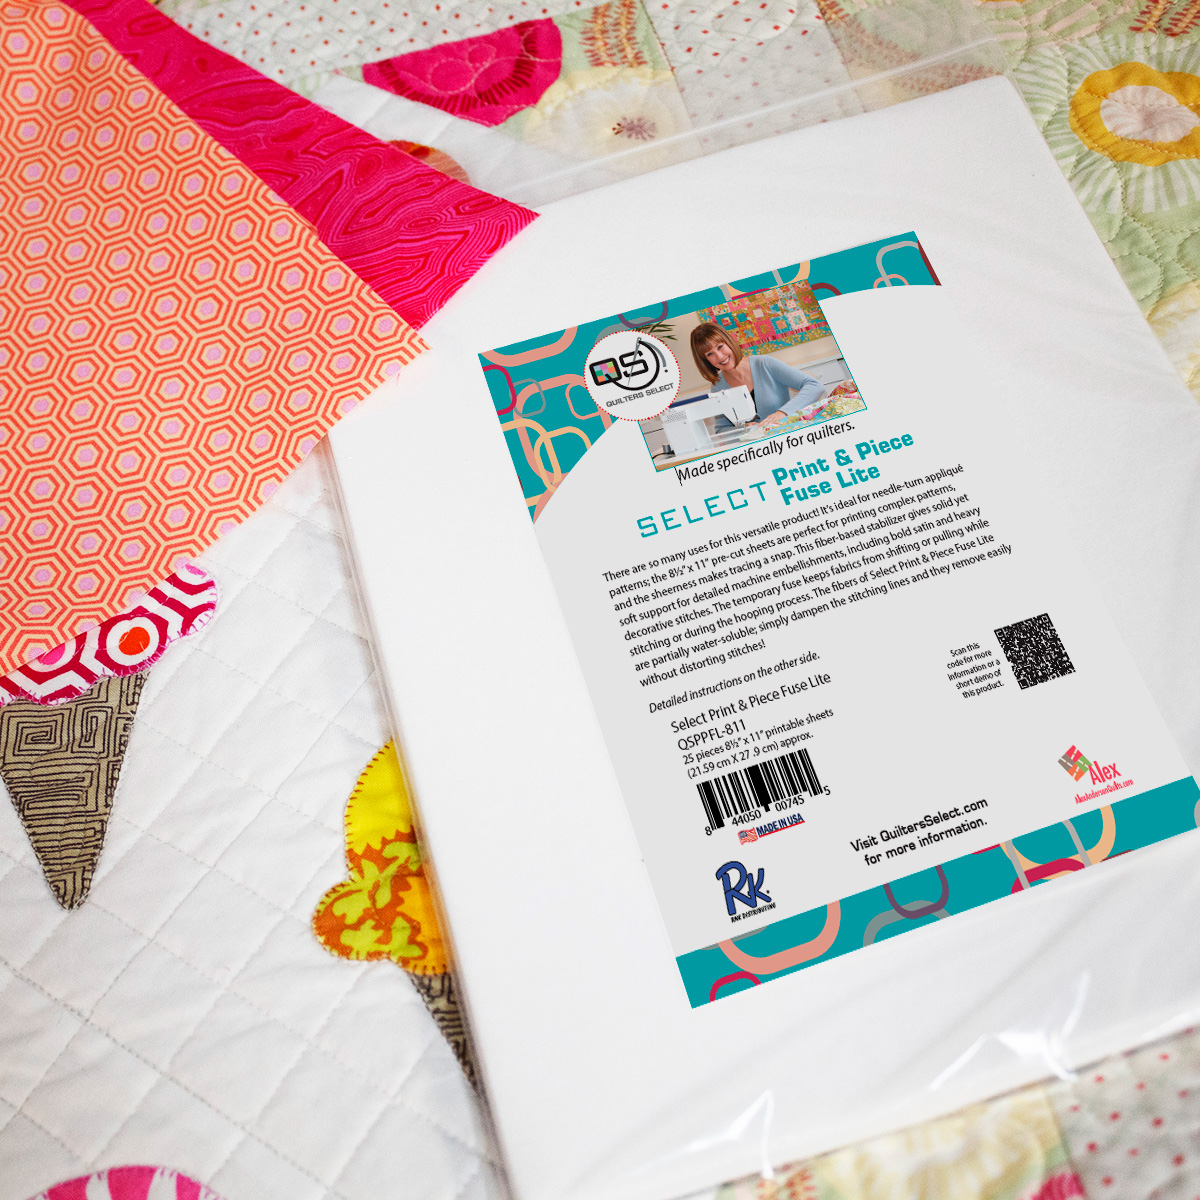
Select Print and Piece Fuse Lite
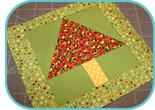
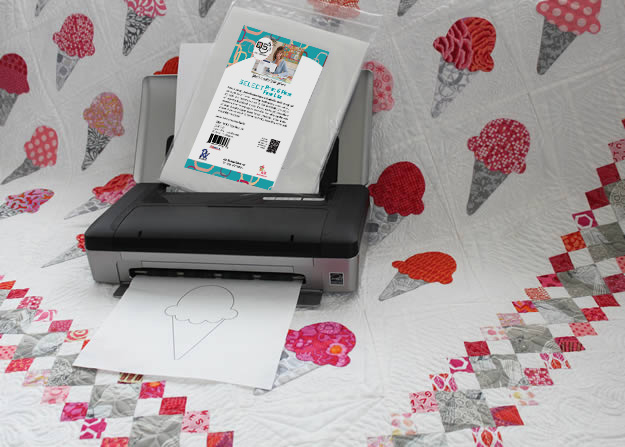
There are so many uses for this versatile product! It’s ideal for needle-turn appliqué patterns, and the sheerness makes tracing a snap. The 8½” x 11″ pre-cut sheets are perfect for printing complex patterns with an ink jet printer. This fiber-based stabilizer gives solid yet soft support for detailed machine embellishments, including bold satin and heavy decorative stitches. The temporary fuse keeps fabrics from shifting or pulling while stitching or during the hooping process. The fibers of Select Print & Piece Fuse Lite are partially water-soluble; simply dampen the stitching lines and they remove easily without distorting stitches!
Directions for Use and Care
Directions for use on printers:
- ONLY to be used with an ink jet printer, DO NOT USE IN LASER PRINTER.
- Load sheets one at a time. Loading multiple sheets may cause the ink jet printer to jam and could damage the printer.
Directions for general use as a stabilizer for embellishment:
- Heat iron to silk setting (low).
- Position the fusible side of Print & Piece Fuse Lite over the wrong side of the fabric.
- Cover the stabilizer with a cotton pressing cloth or piece of muslin. It is also OK to press from the fabric side instead of the stabilizer side.*
- Press with the iron with an up-and-down motion, not side-to-side. If a bond is not achieved, slightly increase your iron temperature and try again.**
- Once stitching is complete, slightly dampen the stitching line and pull away the stabilizer.
*Remember that all irons heat differently. We recommend testing on scrap fabric before beginning your project.
**The fusible coating on the stabilizer was designed to be temporary. If the iron temperature used is too hot, the bond may become permanent.
Directions for needle turn appliqué:
- Print or trace the image on to the non-fusible side of the stabilizer.
- Trim away the excess stabilizer by cutting directly on the lines.
- Fuse the stabilizer/image onto the wrong side of the fabric being used for the appliqué.
- Trim the fabric to within a generous ¼˝ of the stabilizer/ image.
- Use a fabric-safe glue stick and lightly coat the edge of the stabilizer/image.
- Turn the fabric so that it sticks to the glue.
- The appliqué is now ready to be stitched into place on your quilt block, garment or home dec project!
- There is no need to remove the stabilizer from behind the appliqué: when washed, half of the fibers will dissipate; the other fibers will create a slight loft under the appliqué.
Washer and Dryer Safe
Cool water and low drying temperature recommended.
Press using a medium setting on your iron.
Sizes Available
QSPPFL-811
25 pieces 8½” x 11″ printable sheets (21.59 cm x 27.9 cm)
QSPPFL-2010
20″ x 10 yards (50.8 cm x 9.14 m)